چگونه از راه دور به فیلمها، آهنگها، عکسها و فایلهای خود در NAS دسترسی داشته باشیم؟
/ 17 مارس 20Use the NAS to set up your own secure personal cloud.
Keep your videos, photos, music, and files safely at home and under your control.
Access, share, and stream files from anywhere using your PC, Mac computer and mobile devices.
Supported Devices
Zyxel NAS326
Zyxel NAS520
Zyxel NAS540
Zyxel NAS542
Prepare the NAS
The NAS uses port TCP:9002 for access to the media server remotely using a web browser. The steps below will assist you to get the media server accessible from the internet. To make access to remote services more easily available, it is recommended to set up DDNS (Dynamic Domain Name System) or myZyXELcloud agent, especially if the internet connection is through a dynamic internet connection (where the internet/public IP may change at any time).
1. From the NAS WebUI, open the “Control Panel” application.
2. Go to Service → Media Server.
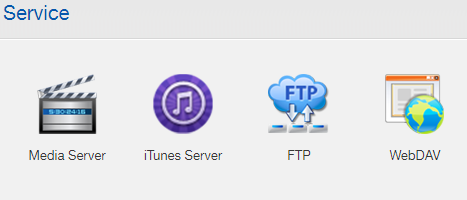
3. Verify that the Media Server is enabled.

4. Select the “Share Publish” tab.
5. From the list of directories (shares), select the type of media the server should scan for in the directory (ex: Music, Photos, Video).
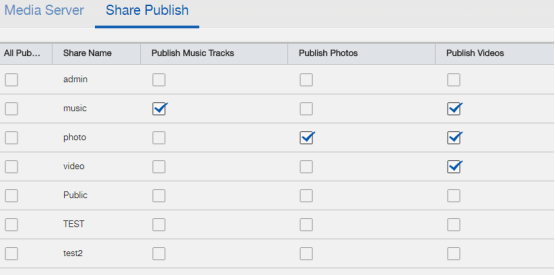
6. Click the Apply button to save the settings.
Router Setup
For assistance on setting up port forwarding on your router, please visit the manufacturer website for instructions, contact the manufacturer via email/phone, or go to https://portforward.com/ for instructions on how to configure port forwarding on your router make/model (the site provides helpful guides on port forwarding setup for most routers).
If UPnP is enabled on your router, you can configure the NAS to open the media server ports on your router.
1. Open the “Control Panel” widget from the NAS WebUI dashboard.
2. Select the “UPnP Port Mapping” option under the Network menu.
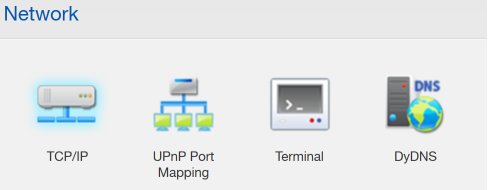
3. If UPnP is enabled on the internet gateway (router), the status of the UPnP should show “Found UPnP supported router” and also display the NAS private IP address.

4. Select the “UPnP Port Mapping” tab.
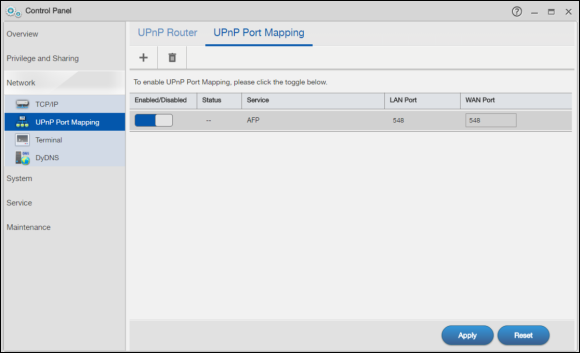
5. Click the “+” button to add a UPnP service.
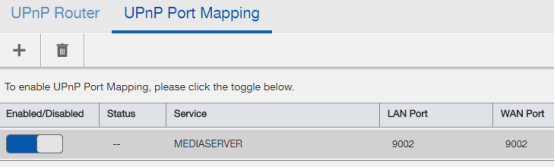
6. Choose the service(s) you wish to enable by checking the box next to the service name (MEDIASERVER in this case). Click the Apply button when done.

7. Verify the service(s) are active and check the “WAN Port” setting(s).
Note: The default of the WAN port for the newly created service displays -1. Specify the port number from 1-65535 or you cannot access that service from the internet.
8. Click the Apply button to save the settings.